Agent Tools
Tools are a way to extend the capabilities of the Agent beyond what the LLM alone can do. They are external services the Agent can call to gather more information or perform actions that are not possible with the LLM alone. The Agent relies on the tools to resolve complex queries that require multiple steps or additional information.
Available Tools
A tool can be:
- A Haystack Platform pipeline (like a RAG pipeline on local data)
- A custom function
- An MCP server that lets the Agent access an external service
- Mem0 Memory tools that give the Agent long-term memory
For instructions on how to add tools to the Agent, see Configuring Agent.
Pipelines as Tools
You can use Haystack Platform pipelines as tools for your Agent. This lets the Agent run entire pipelines, such as a RAG pipeline on your local data, as part of its workflow.
You can use an existing pipeline as a tool or create one from a template. When you add a pipeline as a tool, it becomes a separate copy, detached from the original pipeline. You can still access the original pipeline from the Pipelines page and continue using it as you normally would. Any changes you make to the original pipeline don't affect the tool pipeline.
You can choose how to handle pipeline inputs and outputs. The Agent can either generate the tool inputs or read them from the its state. Storing outputs in the state makes them available to other tools and components in the agent workflow. Note that the Agent's state_schema will be updated automatically accordingly.
For details, see Tools and Agent State.
Custom Code as Tools
You can turn custom Python functions into tools your Agent can use. This lets you add any functionality you need to your Agent. The function becomes a tool the Agent can call when needed.
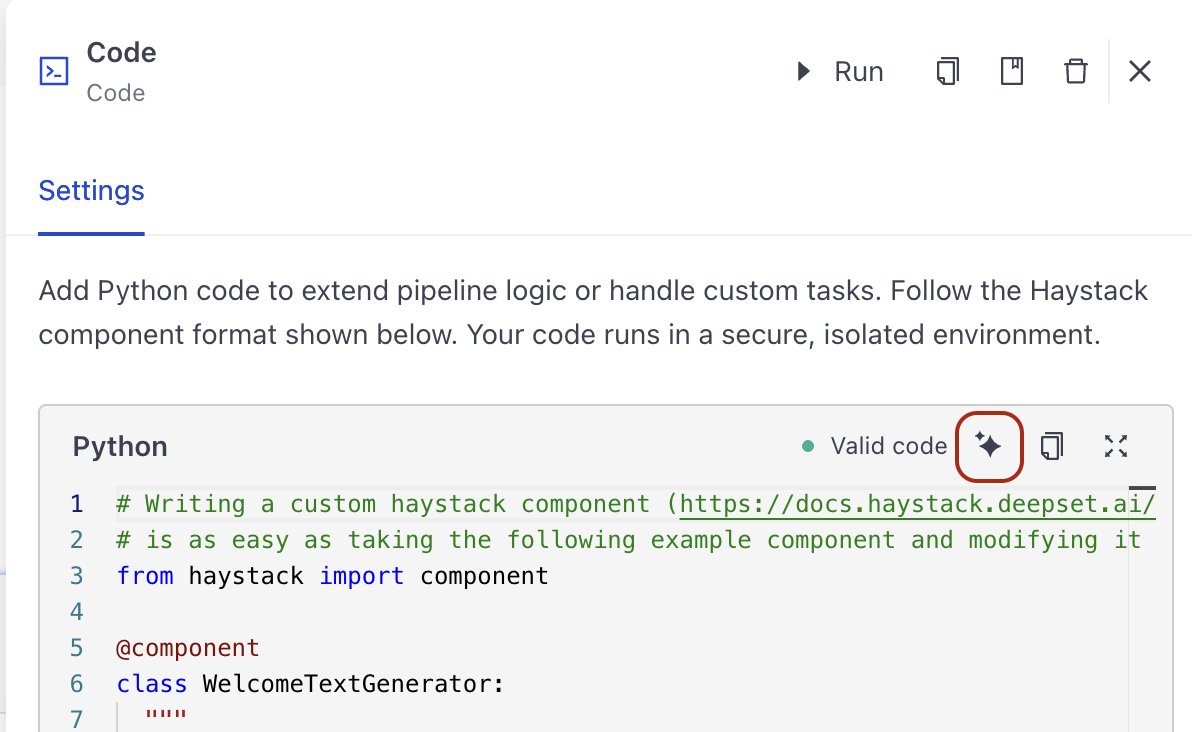
To add a custom tool, choose Code as the tool type. This opens the code editor with an example you can modify. The code must use the @tool decorator that automatically converts your function into a tool. Each tool must have a name, description, and parameters.
The @tool decorator infers the tool name, description, and parameters from the function. The Agent uses the tool's name and description to decide when to use it. Make sure these are clear and specific.
When creating your custom tool, use Python's typing.Annotated to add descriptions to parameters. This helps the Agent understand what each parameter does. For example, city: Annotated[str, "the city for which to get the weather"] = "Munich" describes the city parameter as a string and explains what it is for.
You can use the AI assistant to generate code for your custom tool. To do this, click the AI Assistant button on the tool card and write your request in the prompt.
Example: Weather Tool
This is an example of a weather tool that uses the @tool decorator:
from typing import Annotated, Literal
from haystack.tools import tool

@tool
def get_weather(
    city: Annotated[str, "the city for which to get the weather"] = "Munich",
    unit: Annotated[Literal["Celsius", "Fahrenheit"], "the unit for the temperature"] = "Celsius"
):
    '''A simple function to get the current weather for a location.'''
    return f"Weather report for {city}: 20 {unit}, sunny"
For detailed instructions on how to add a custom tool, see Add Custom Code as a Tool.
MCP Servers as Tools
MCP servers make it possible to integrate external services into the Agent through the Model Context Protocol (MCP). MCP is protocol that standardizes how AI applications communicate with external tools and services. The MCP tool supports two transport options:
- Streamable HTTP for connecting to HTTP servers
- Server-Sent Events (SSE) for connecting to servers that support SSE
Streamable HTTP sends data in pieces rather than all at once. It's like streaming a video file, you start watching it while the rest is still loading. SSE is one-way communication from the server to Haystack Platform. The server pushes real-time updates to the Agent. You can compare it to text message alerts from your bank. Once you subscribe, you get notifications when there's activity. The connections stays open and they push updates to you.
Some MCP servers require an authentication token to access the service.
You can connect only remote MCP servers. To use a local MCP server, first deploy it to a remote server.
For detailed instructions on how to add an MCP tool, see Add an MCP Tool.
Mem0 Memory
Mem0 Memory tools give your Agent long-term memory. Instead of relying only on the current conversation, the Agent can store important facts, preferences, and context, then retrieve them in future conversations. This is useful for building personalized assistants that remember information across sessions.
Adding Mem0 Memory to your Agent creates two tools:
- Store Memory (
store_memoryby default): Stores a piece of information as a long-term memory. The Agent calls this tool to persist facts, user preferences, or context it wants to remember. - Retrieve Memories (
retrieve_memoriesby default): Searches for memories relevant to a query, or returns all memories when no query is given. The Agent calls this tool when stored context from past conversations could help answer the user.
Both tools are backed by the Mem0 service. You need a Mem0 API key to use them. When you add Mem0 Memory, the API key is stored as a workspace secret.
Mem0 Memory tools use the Agent's state_schema to inject a user_id at runtime. This scopes memories to individual users so that each user's memory is kept separate. The platform configures the state_schema automatically when you add the tools.
For detailed instructions on how to add Mem0 Memory tools, see Add Mem0 Memory Tools.
Choosing the Right Tool Type
The type of tool you choose depends on what you want your Agent to do. Each tool type serves different purposes and works best for specific scenarios.
Use pipeline tools when:
- You need a multi-step workflow that combines several components
- You want to provide the Agent with access to your internal data through RAG
- The task requires a complex process like retrieval, ranking, and formatting
- You want to reuse an existing pipeline you've already built and tested
Examples:
- Use a RAG pipeline to search through company knowledge bases or internal documents
- Use a hybrid retrieval pipeline that combines keyword search, semantic search, and reranking
- Use a document processing pipeline that converts, splits, and ranks documents
Use custom code tools when:
- You need custom logic that doesn't exist as a component or pipeline
- You want to integrate with APIs or services not yet supported by Haystack Platform
- The functionality is specific to your use case or business logic
- You need simple, focused operations that don't require complex pipelines
Examples:
- Create a weather tool that calls a weather API
- Build a calculator tool for specific business calculations
- Develop a data formatter that transforms data in a custom way
- Create a tool that interacts with your internal systems or databases
Use MCP servers tools when:
- You need to integrate with external services that provide MCP servers
- You want to use third-party tools through a standardized protocol
- You need real-time data or continuous updates from external sources
- You're working with services that support Model Context Protocol
Examples:
- Connect to deepwiki.org to analyze and explain GitHub repositories
- Integrate with services that provide MCP-compatible APIs
- Access external databases or knowledge bases through MCP
- Connect to monitoring or analytics services that support MCP
Use Mem0 Memory tools when:
- You want your Agent to remember information across conversations
- You're building a personalized assistant that adapts to individual users
- You need to persist facts or preferences the Agent learns during a session
- You want to scope memories to individual users to keep their data separate
Examples:
- Build a support assistant that remembers a user's preferences and past issues
- Create a personal assistant that recalls facts the user has shared previously
- Develop an onboarding bot that tracks what a user has already completed
Combining Multiple Tools
You can equip your Agent with multiple tools of different types. This is useful when your Agent needs to handle diverse tasks. For example:
- Repository Explainer: Use an MCP server tool to access repository data and a custom code tool to format the output
- Support Agent: Use a pipeline tool to search documentation and custom code tools for specific business logic
When combining tools, make sure each tool has a clear, distinct purpose. Give them meaningful names and descriptions so the Agent can decide which tool to use for each task.
Tool Naming and Descriptions
Your tool names and descriptions should be clear and concise, and should describe the tool's capabilities and the data it expects and produces. This helps the Agent understand what the tool does and how to use it. Make sure it's easy for the LLM to differentiate between tools and their functions.
Tutorials
- Building a Deal Desk Agent with Search and Custom Code — Step-by-step example using a document search pipeline tool and a custom code tool together.
- Building an IT Helpdesk Agent with Multiple Knowledge Bases — Step-by-step example using two document search pipeline tools to route questions between knowledge bases.
Tools and Agent State
Tools can read from and write to the Agent
Was this page helpful?