Test Components and Pipelines in Builder
Run individual components independently in Builder to test, debug, and validate them before deploying your full pipeline. You can also run the pipeline right from the Builder.
About This Task
In Builder, you can run components and agent tools in isolation to test them without deploying the entire pipeline or index. Running a single component helps you:
- Verify its configuration and parameters.
- Validate input and output formats.
- Identify issues in the configuration.
- Understand how it processes data.
- Experiment with different settings.
This saves time by letting you validate components early, before deploying a full pipeline or index.
You can also run the whole pipeline without deploying it first.
Documents as Input
When you run an individual component, Builder automatically fills in its input, except for components that require documents. For these, the input defaults to an empty array.
To use real documents, first run a component that retrieves them (for example, a Retriever), and then click Run Next to use the retrieved documents as an input for the next component.
All input must be valid JSON.
Document Store Input for Retriever Components
When a component takes a document_store input (for example, a Retriever), Builder prefills the field with the configuration of the document store wired to that component on the canvas. You can change the prefilled document store if needed. The Builder then adds a Differs from canvas label next to the document store field to let you know it's different from the current configuration. Click the label to match the document store that's configured on the canvas.
A document_store value you submit with a run is treated as an initialization parameter, not a run argument. It configures the component for that run instead of being passed to its run method.
Run a Single Component
You can run a component that's already a part of a pipeline or you can drag and drop a single component on the canvas and run it there.
-
Choose how to run a component:
- To run a standalone component:
- Go to Pipelines>Create Pipeline>Create empty pipeline.
- Give your pipeline a name and click Create Pipeline.
- In Builder, click Add, find the component you want to run, and drag it onto the canvas.
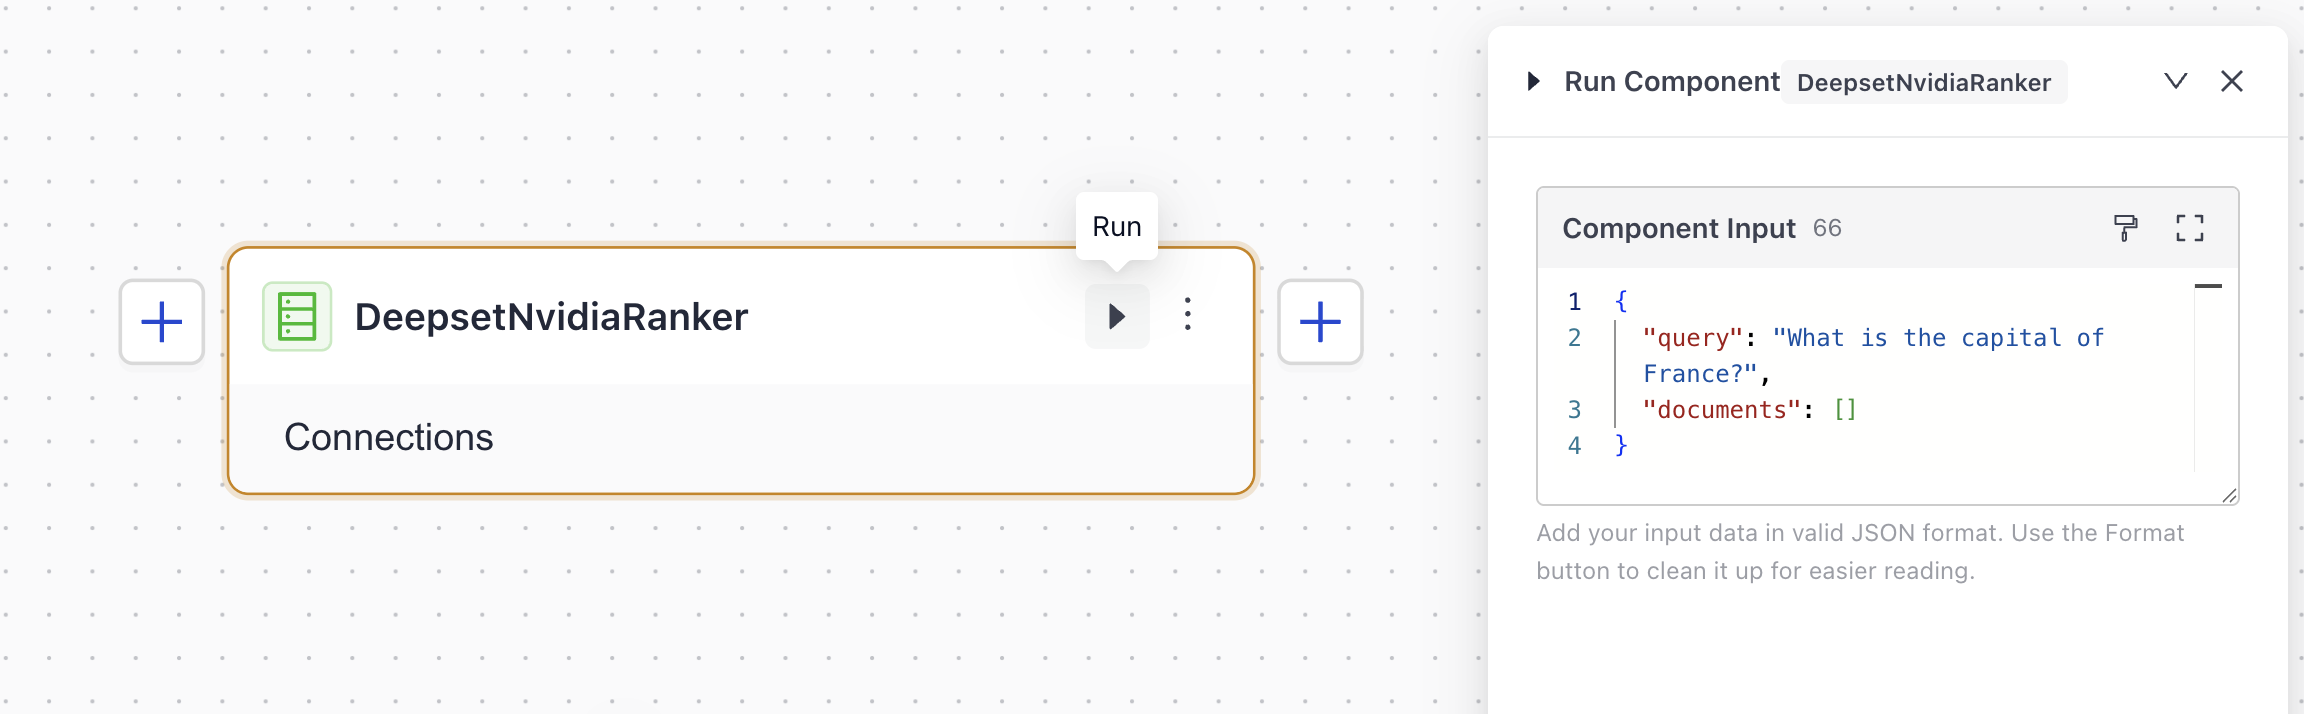
- Click the Run icon on the component card.
- To run a component that's part of a pipeline:
- Go to Pipelines and click the pipeline containing the component.This opens the pipeline's Analytics page. Switch to Build to open Builder. To skip the Analytics page, click the Build icon in the pipeline's row instead.
- Find the component to run and click Run on its card. This opens a window with the component input automatically filled in (except for components that take
documents). You can edit the input and format it with the Format button.
- Go to Pipelines and click the pipeline containing the component.
- To run a standalone component:
-
Click Run Component. After the component runs, its output is displayed in an expandable editor next to a chip showing how long the run took. This is the round-trip time from sending the run to receiving its output, including request latency, not a duration reported by the component itself, so treat it as approximate. If the component is part of a pipeline, you can then click Run Next to run the next component in the pipeline.
Some components depend on the pipeline's state and can't run on their own, like DeepsetToolInvoker that powers pipeline tools. Testing these components in isolation won't give meaningful results.
Run an Agent Tool
Prerequisite: You must have a pipeline with the Agent component configured with tools. For details, see Configure an Agent.
- In Builder, click the agent card. This opens the agent configuration.
- In the Tools section, click the tool you want to run.
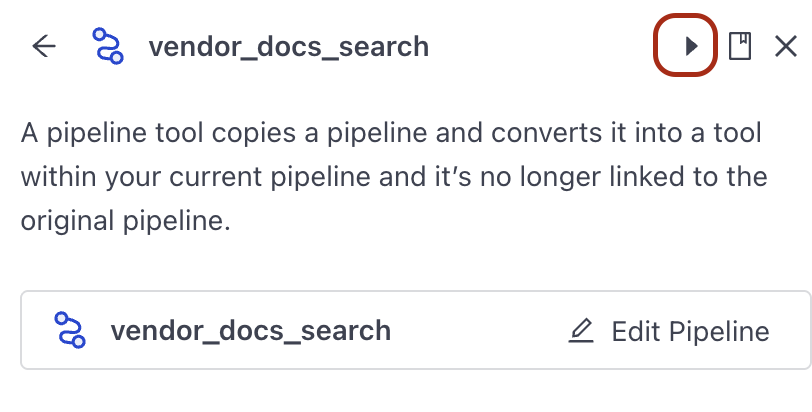
- At the top of the tool card, click Run. You may need to provide the tool input. After the tool runs, its output is displayed so you can verify the result.
Run a Pipeline
In Builder, click Run Pipeline above the Input component.
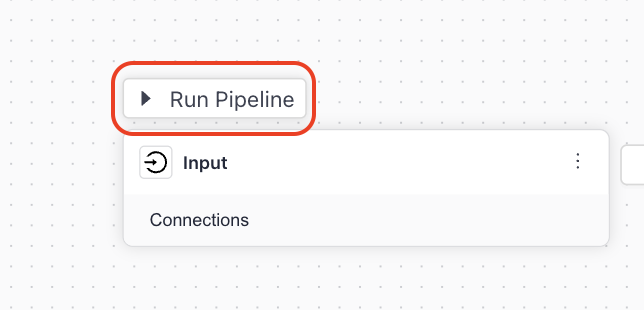
A window where you can type your query pops up.
Provide File Inputs for a Debug Run
If your pipeline has a file-typed input socket (for example, a files input accepting ByteStream or Path values), a file attachment area appears at the top of the run panel.
To attach a file:
- In Builder, open the run panel by clicking Run Pipeline.
- Drag a file onto the attachment area, or click it to browse your local file system.
- Wait for the file thumbnail to appear. This confirms the file uploaded and is ready to use.
- Fill in any other required inputs, then click Run.
The file is uploaded as a temporary file before the run starts. Its ID is sent automatically as part of the debug request.
While the run is in progress, the attached file stays visible but the attachment controls are disabled so you can see what was used. After the run completes, you can remove the file and attach a different one.
For non-list file sockets, only one file can be attached at a time. The option to add more files is hidden once a file is attached.
Run a Component from a Trace
When you inspect a trace in Traces, you can open any component directly in Builder with its recorded inputs prefilled. This lets you reproduce a specific run, experiment with different inputs, and debug issues. For details, see Run a Component from a Trace.
Was this page helpful?