Add a Code Component
Use the Code component to execute your own Python code in a pipeline. It has built-in AI assistance to help you write the code. You can use it in a single pipeline or save it as a custom component to share with your workspace or organization.
About This Task
The Code component is the recommended way to add custom Haystack components in Haystack Platform. You write the code directly in Builder, test it, and optionally save it as a custom component to reuse or share with others.
Use the Code component if:
- You want a fast and easy way to add custom code to a pipeline.
- You prefer to add code directly in Builder rather than using a GitHub template and a CI/CD workflow.
If you need external pip dependencies (beyond what's already available in deepset) or full GitHub-based versioning and CI/CD testing, consider creating a custom component with the GitHub template instead. For more information, see Custom Components.
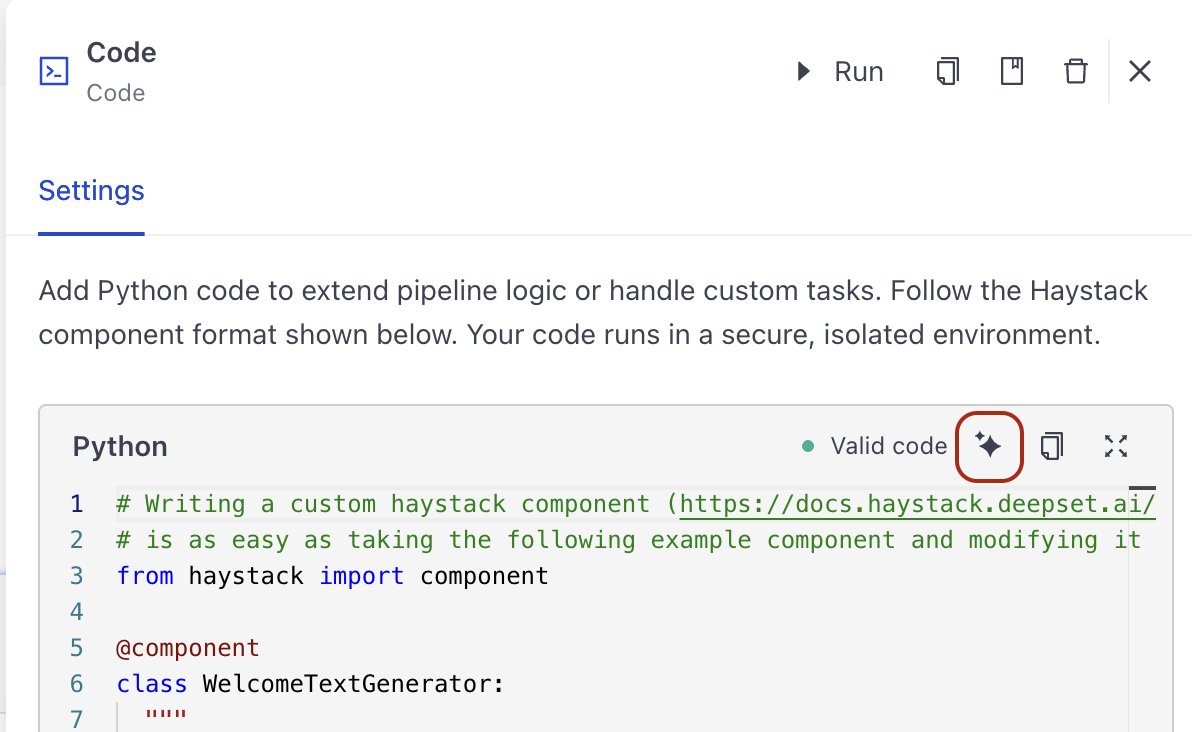
The component validates your code as you type it in the code field, so you can catch and fix any errors before deploying the pipeline. You can test your code by clicking Run on the component card and providing the component input. You should see the component's outputs in the Results panel.
Component's Structure
Each component is a Python class with the following required elements:
- The
from haystack import componentimport statement. - The
@componentdecorator to indicate you're creating a component. - The
run()method that defines what the component does.- The
run()method must have the@component.output_typesdecorator to define the type of data the component outputs and the name of the outputting edge. The names and types you define as output types must match the keys and value types of the dictionary object therun()method returns. For details, see Examples below. - You can specify the input parameters for the
run()method. - The
run()method must return a dictionary with the keys and values you specify.
- The
Optionally, you can add __init__ parameters to your component. This is useful if you want to configure the component at runtime. The __init__ parameters are shown on the Advanced tab on the component's configuration. Make sure the parameters have default values.
You can use the AI assistant to generate the code for your Code component. To do this, click the AI Assistant button on the component card and write your request in the prompt. The AI generates the code for you.
By default, pipelines and indexes run on CPU. If your component works better on a GPU, you can turn on GPU acceleration in the pipeline or index settings. For details, see GPU Acceleration.
Saving and Sharing Code Components
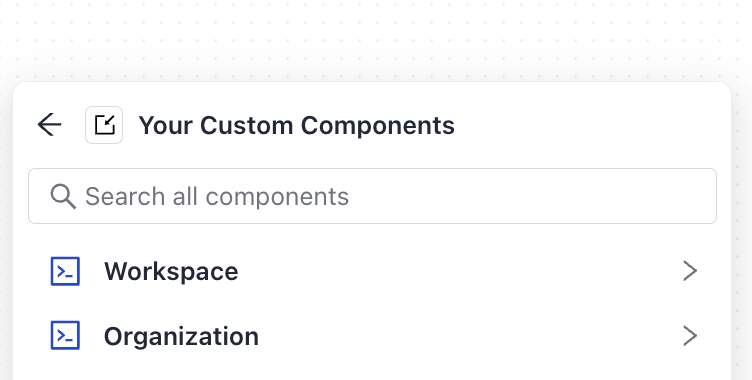
You can save your Code component and share it with your workspace or organization. Saved components appear in the Your Custom Components section of the Component Library in Builder. Anyone with access can drag them into a pipeline from there. Components shared with the entire organization appear in the Organization section and components shared with the workspace appear in the Workspace section.
When you add a saved Code component to a pipeline, the code is copied into that pipeline. Each pipeline gets its own independent copy, so updating the saved component later doesn't affect pipelines already using it.
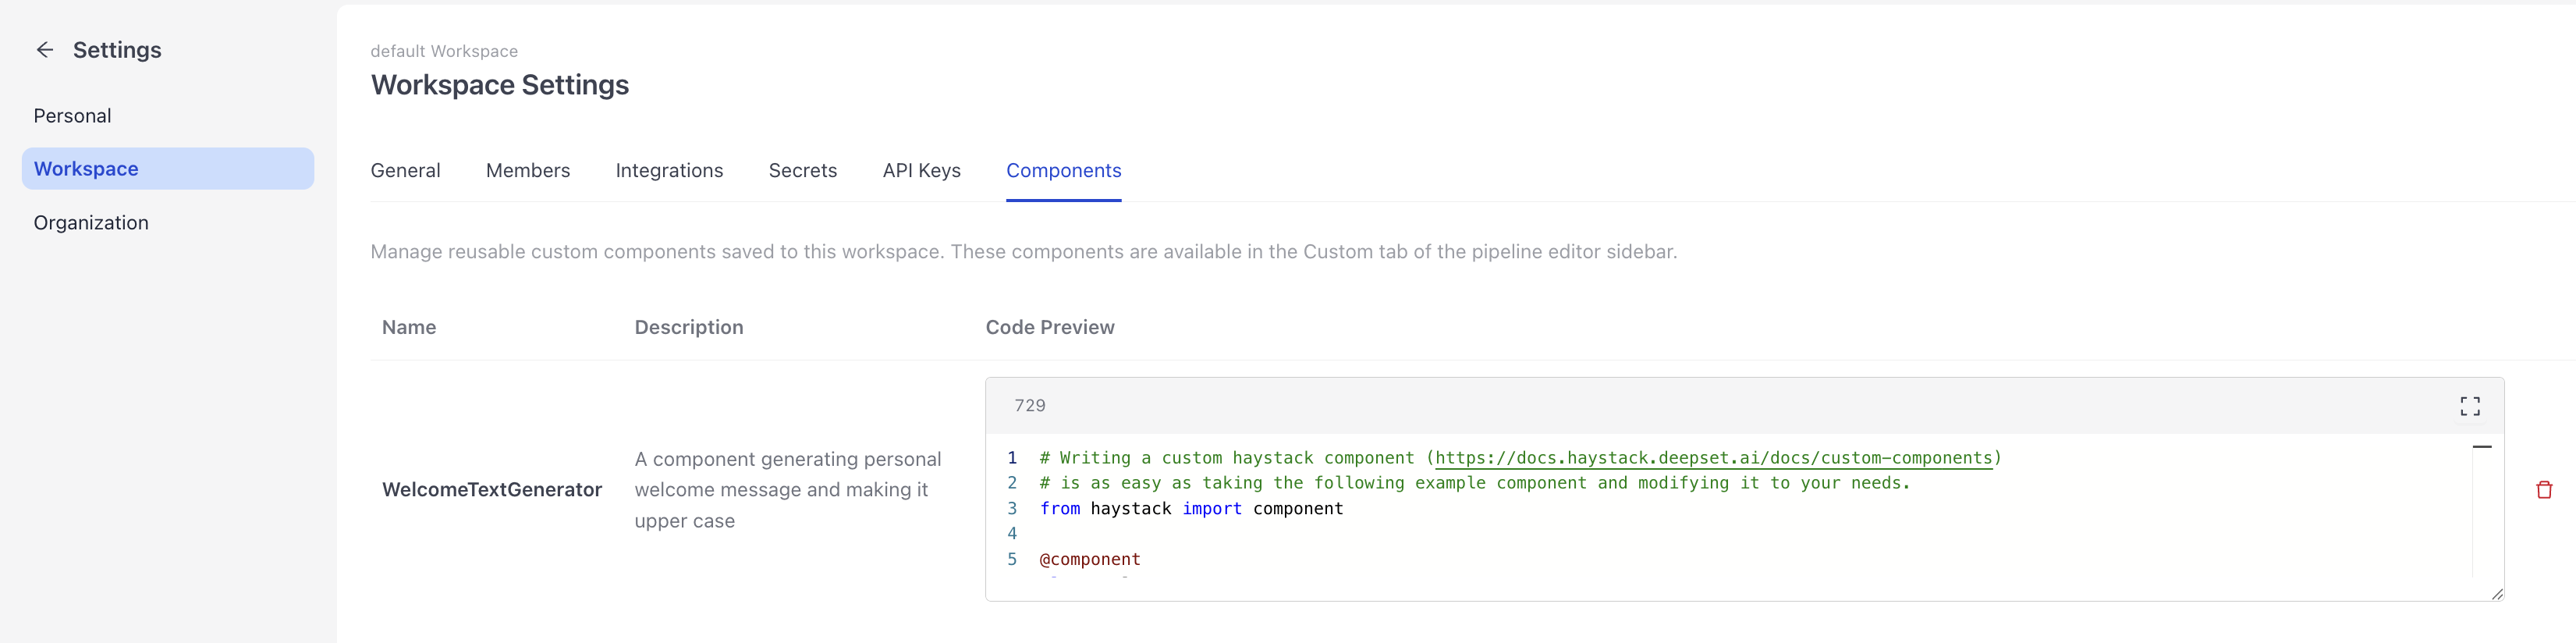
You can view and manage your saved components in organization or workspace settings, depending on the scope of the component.
Permissions
- To share a component with the entire organization, you need Organization Admin permissions.
- To share a component with your workspace, you need workspace write permissions.
Prerequisites
- An understanding of components and their structure. For more information, see:
- You can also check the Code component reference documentation.
Add a Code Component
- Go to Pipelines and click the pipeline you want to add the
Codecomponent to. The pipeline opens in Builder. - Click Add, find the
Codecomponent, and drag it onto the canvas. - Click the component card and type your code in the Python editor. Use the example as a starting point. Make sure your code has the
@componentdecorator and therun()method. Define the inputs and outputs so that they match the inputs and outputs of the components it's connected to.
You can use the AI assistant to generate the code for your Code component. To do this, click the AI Assistant button on the component card and write your request in the prompt. The AI generates the code for you.
Example
This is an example of a Code component that counts words in a text. The component takes a string as input and returns the number of words in the string and the original string.
@component
class WordCounter:
    """
    A component that counts words in a text.
    """

    @component.output_types(count=int, original_text=str)
    def run(self, text: str):
        return {
            "count": len(text.split()),
            "original_text": text
        }
- If your class defines
__init__parameters, click the Advanced tab in the configuration panel to set their values. - Run the component to test it:
- On the component card, click Run.
- Enter the component inputs and click Run Component. You should see the component's outputs in the Results panel.
- Connect the component to the other components it needs to work with.
- Save your pipeline.
Save a Code Component as a Custom Component
To save a Code component as a custom component and reuse it in other pipelines:
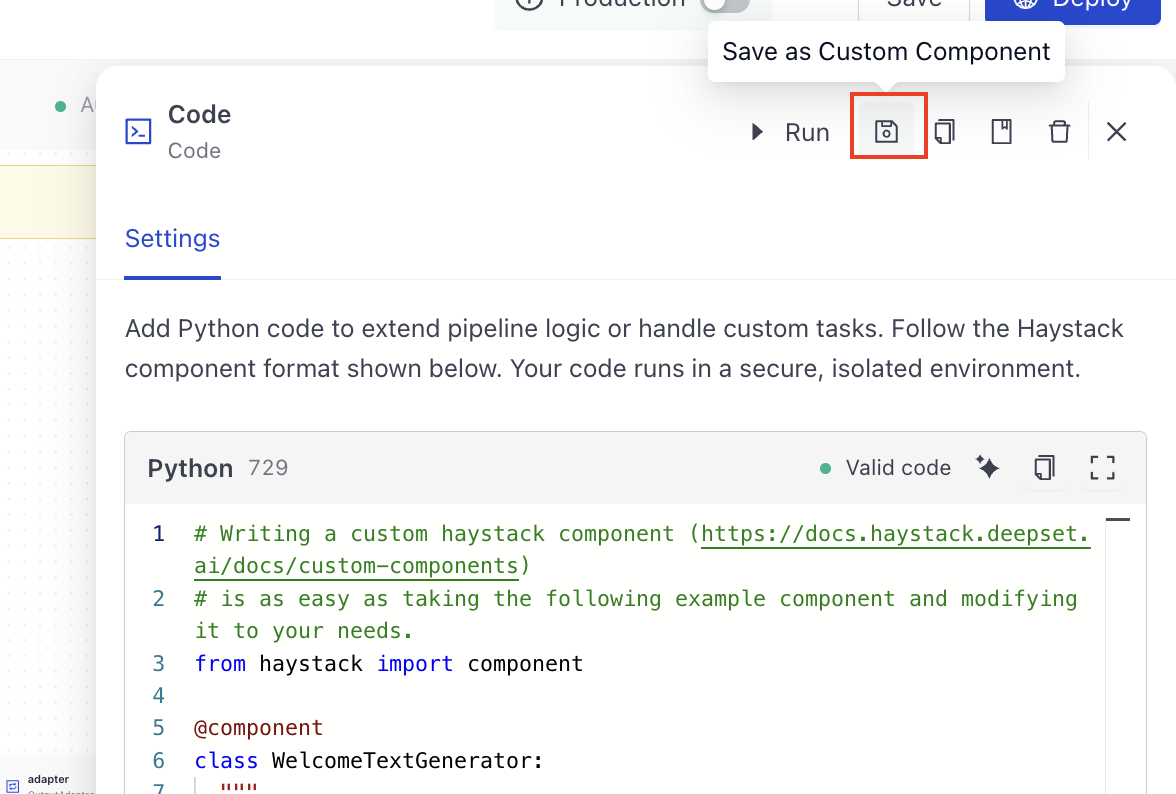
-
On the component card, click Save as Custom Component.
-
Give the component a name and optionally a description.
-
Choose whether to share the component with the entire organization. If you leave this unchecked, the component is only available in your workspace.
-
Click Save.
The component is now saved and appears in the Your Custom Components section of the Component Library. You and your team can drag it into any pipeline from there.
Example
Watch the gif to see how to add a Code component to a pipeline and save it as a custom component.
What To Do Next
To manage your saved components, go to Settings and navigate to the organization or workspace components section. There you can view all saved components and delete any that are no longer needed.
Related Links
Was this page helpful?