Tutorial: Creating an Experiment for a QA Pipeline
Use this tutorial to learn how to create an experiment to evaluate your question answering pipeline. The instructions here guide you through the steps to create your first experiment. They also contain all the data you need for it.
- Level: Beginner
- Time to complete: 15 minutes
- Prerequisites:
- This tutorial assumes a basic knowledge of NLP and the concept of pipeline evaluation. If you need more information, look at About Experiments.
- You must be an Admin to complete this tutorial.
- Goal: After completing this tutorial, you will have created and run an experiment to evaluate a question answering pipeline.
This tutorial contains all the necessary files and an evaluation dataset, but you can replace them with your own. It also guides you through creating a QA pipeline from a ready-made template but you can also use a previously created pipeline.
Upload Files
Your pipeline will run the search on these files.
-
Download the .zip file with sample files and unpack it on your computer.
-
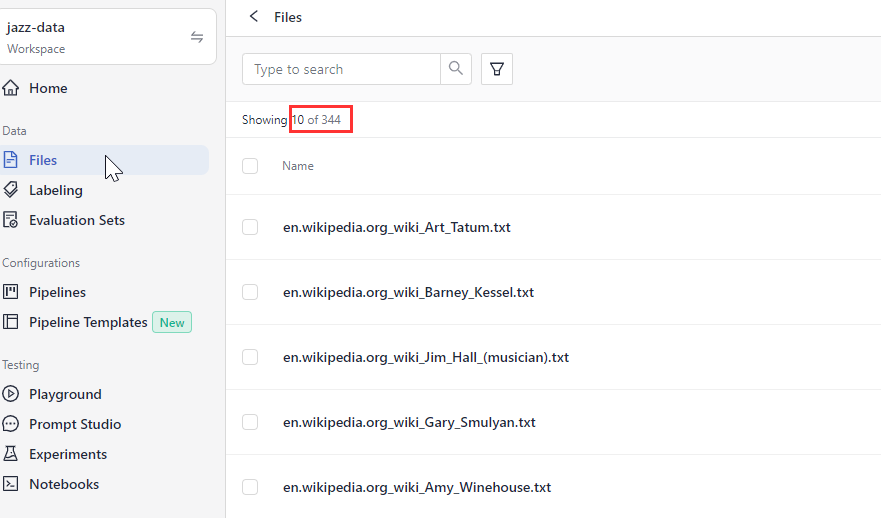
Log in to deepset Cloud, make sure you're in the right workspace, and go to Files.
-
Click Upload Files.
-
Select all the files you extracted and drop them into the Upload Files window. There should be 344 files in total.
-
Click Upload and wait until the files are uploaded.
Result: Your files are in your workspace, and you can see them on the Files page.
Upload an Evaluation Set
You need a set of annotated data your pipeline will be evaluated against.
- Download the CSV file and save it on your computer.
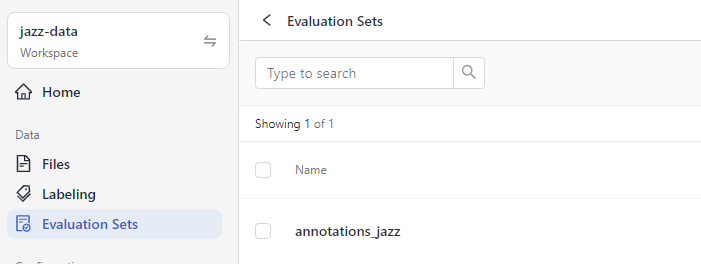
- In deepset Cloud, go to Evaluation Sets and click Upload Evaluation Sets.
- Drop the CSV file you downloaded in step 1 in the Upload Evaluation Sets window and click Upload. Wait for the confirmation that it uploaded without problems.
Result: The evaluation dataset is uploaded, and you can see it on the Evaluation Sets page.
Create a Pipeline to Run the Experiment On
If you already have a pipeline you want to evaluate, you can skip this part.
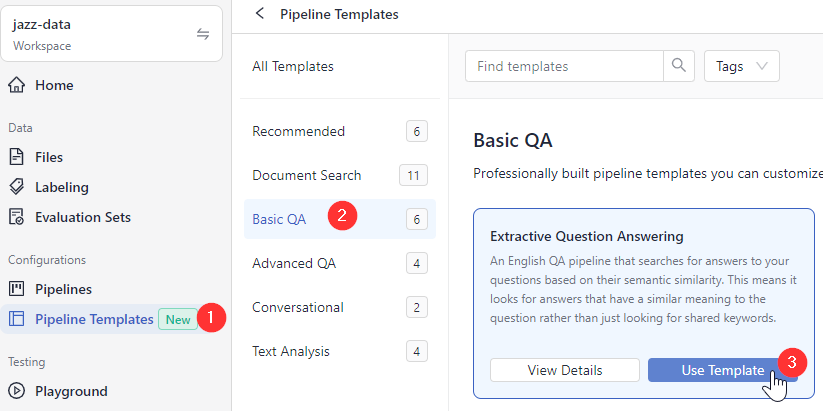
- In deepset Cloud, go to Pipeline Templates.
- Choose Basic QA, hover your mouse over the Extractive Question Answering template, and click Use Template.
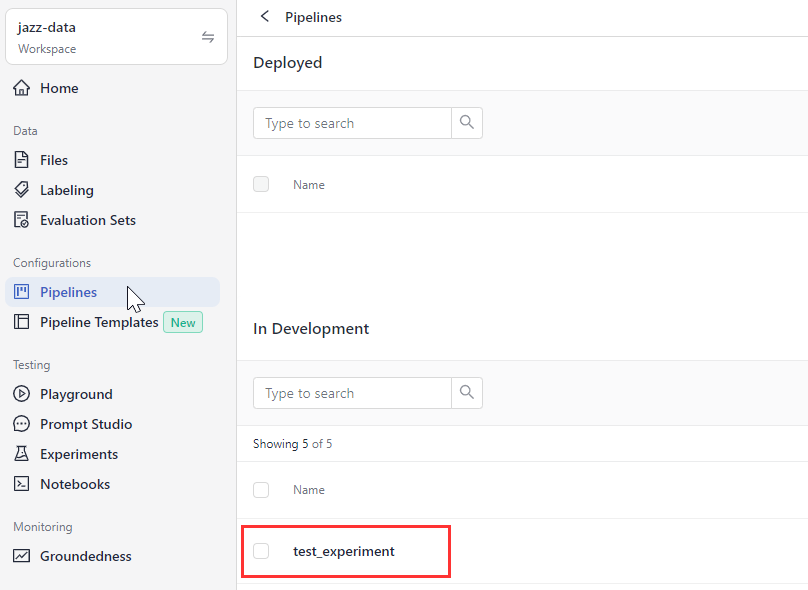
- Type test_experiment and the pipeline name and click Create Pipeline.
Result: You have created a question answering pipeline that you'll evaluate next. Your pipeline is displayed on the Pipelines page.
Create an Experiment
Now it's time to evaluate your pipeline.
-
Go to Experiments>New Experiment.
-
Choose test_experiment as the pipeline.
-
Choose annotations_jazz as the evaluation set.
-
Type jazz as the experiment name and add test as a tag.
-
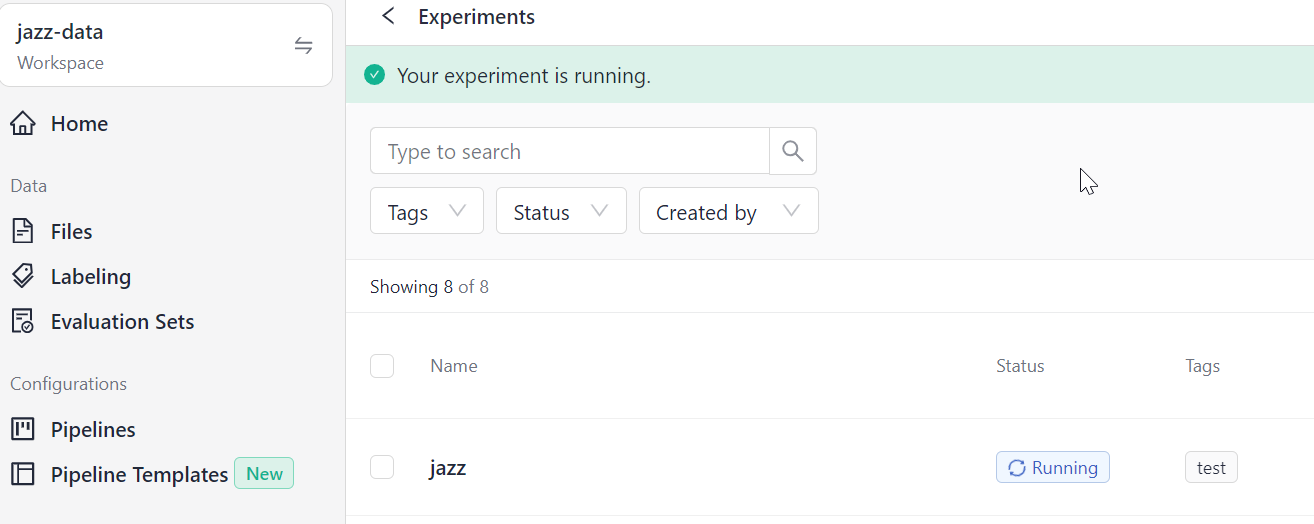
Click Start Experiment. You can see that jazz is running. Wait until it completes. It may take a couple of minutes.
-
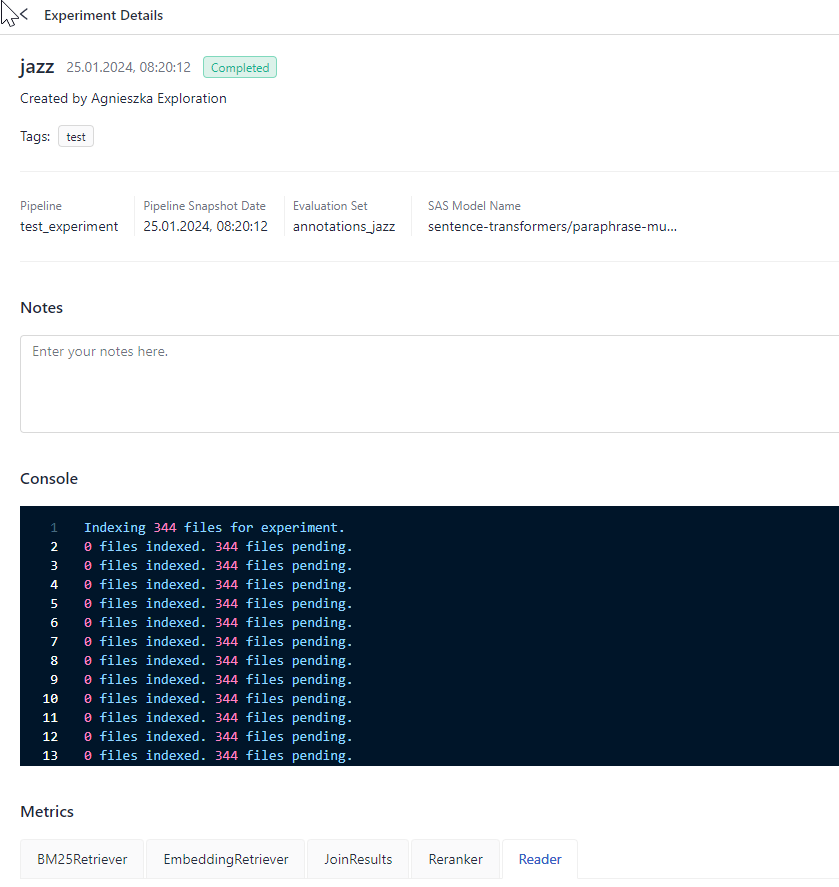
When the experiment status changes to
Completed, click its name to view its details, such as the data and the pipeline, the metrics, and predictions.
Result: Congratulations! You just created an experiment and ran it to evaluate your pipeline.

You can now review the results on the experiment details page.
Updated 6 months ago