Tutorial: Building Your First Document Search App
This tutorial teaches you how to build a document search system in the easiest and fastest possible way. It uses the UI for uploading the sample files and a template for creating the document retrieval pipeline.
- Level: Beginner
- Time to complete: 10 minutes
- Prerequisites:
- This tutorial assumes a basic knowledge of language models.
- You must be an Admin to complete this tutorial.
- Make sure you have a Haystack Platform workspace where the information retrieval pipeline will run.
- Goal: After completing this tutorial, you will have built a complete English document retrieval system from scratch that can fetch NHS documents.
Upload Files
First, let's get the files the search will run on into Haystack Enterprise Platform.
- Download the .zip file from gdrive and unzip it to a location on your computer.
- Log in to Haystack Enterprise Platform, switch to the right workspace, and go to Files.

- Click Upload Files, drag the files you unpacked in step 1, and drop them to the Upload Files window. (You must select all files in a folder; Haystack Enterprise Platform doesn't support uploading folders.)
- Click Upload and wait until the upload finishes. Even when the upload is finished, the files may take a while to show up in Haystack Platform. That's expected; just wait a while and refresh the page if needed.
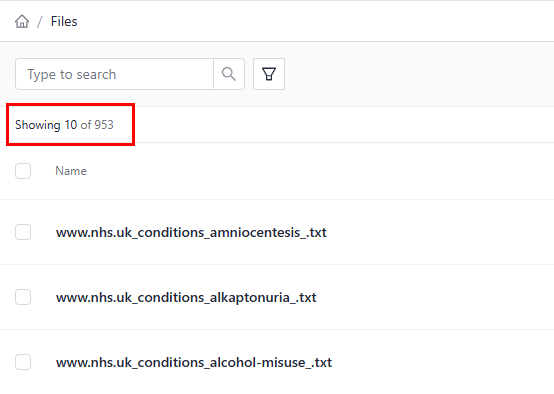
Result: Your files have been uploaded and are shown on the Files page. You should have 953 files.
Create an Index
Index prepares your files for search by chunking them and storing in a document store, where the query pipeline can access them.
- Go to Indexes > Create Index.
- Chose the Standard Index (English) template.
- Leave the default name and click Create Index. The index opens in Builder.
- Save the index and click Enable in the top right corner of the Builder.

Result: You created and enabled an index you can now connect to your query pipelines to give them access to your files.
Create a Pipeline
The next step is to define the components of your search app. We'll use a document search pipeline template with a vector retriever to create the pipeline.
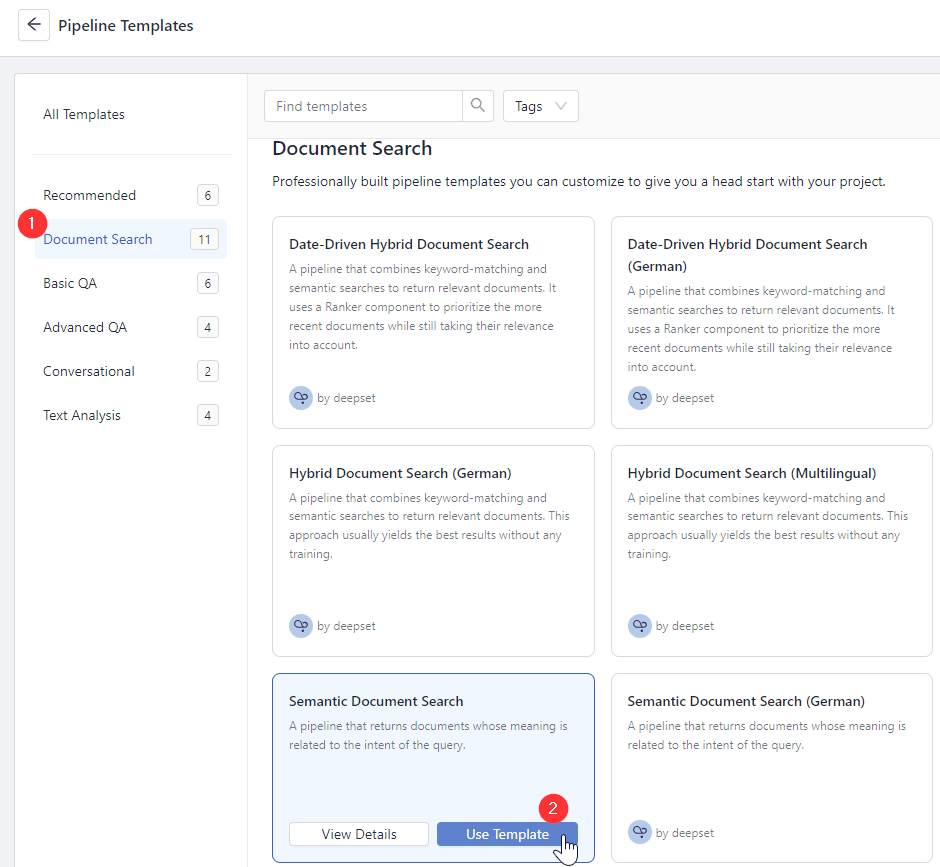
- In the navigation, go to Pipeline Templates.
- Choose Document Search as the category, find Semantic Document Search, and click Use Template.
- Type NHS_doc_search as the pipeline name and click Create Pipeline. You're redirected to Builder.
- Open the Issues panel at the bottom of the canvas. You can see one issue there: Pipeline index missing error. Click Inspect next to it to jump to the component that needs the index.
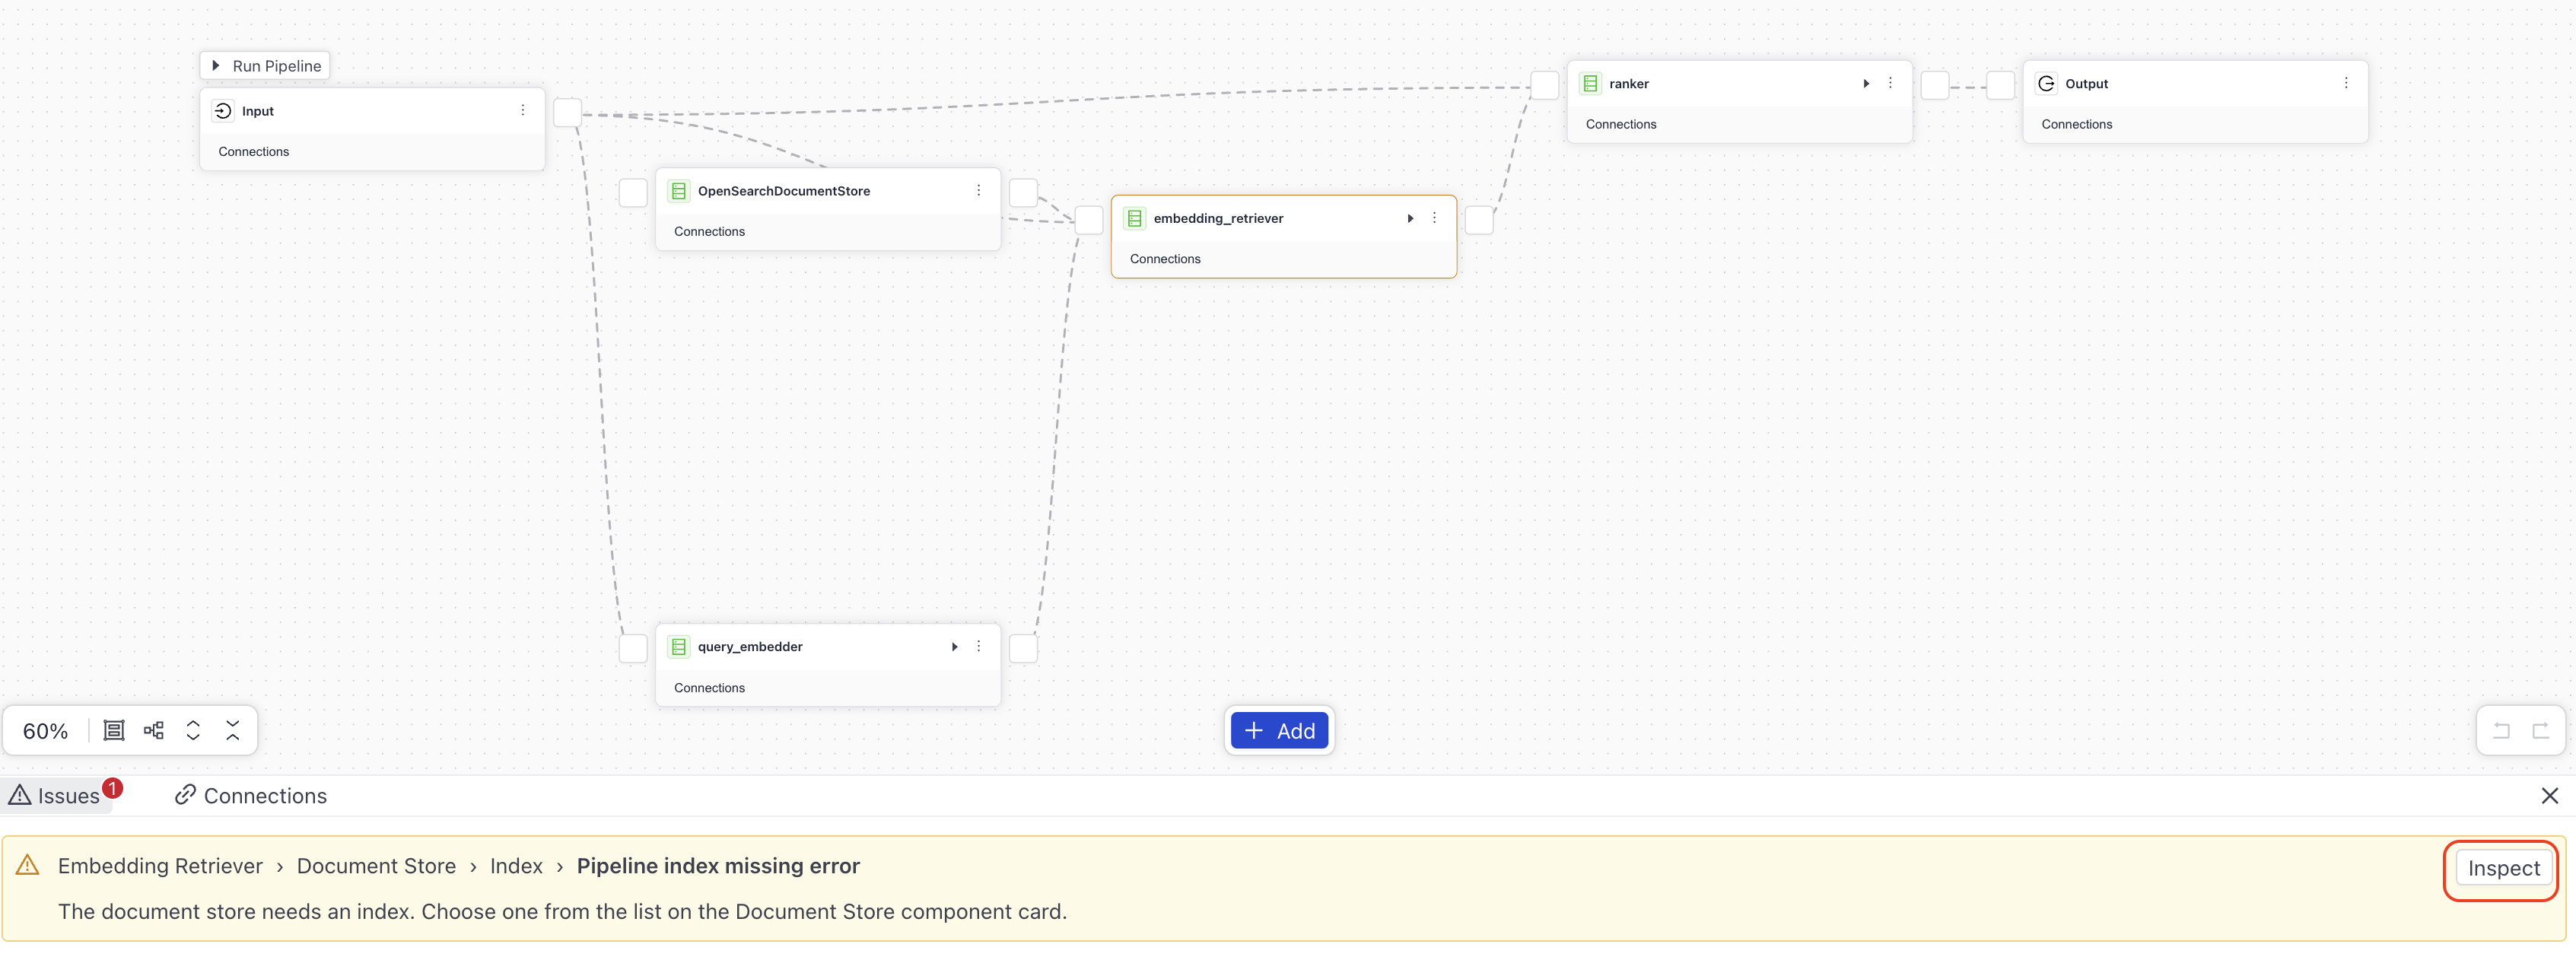
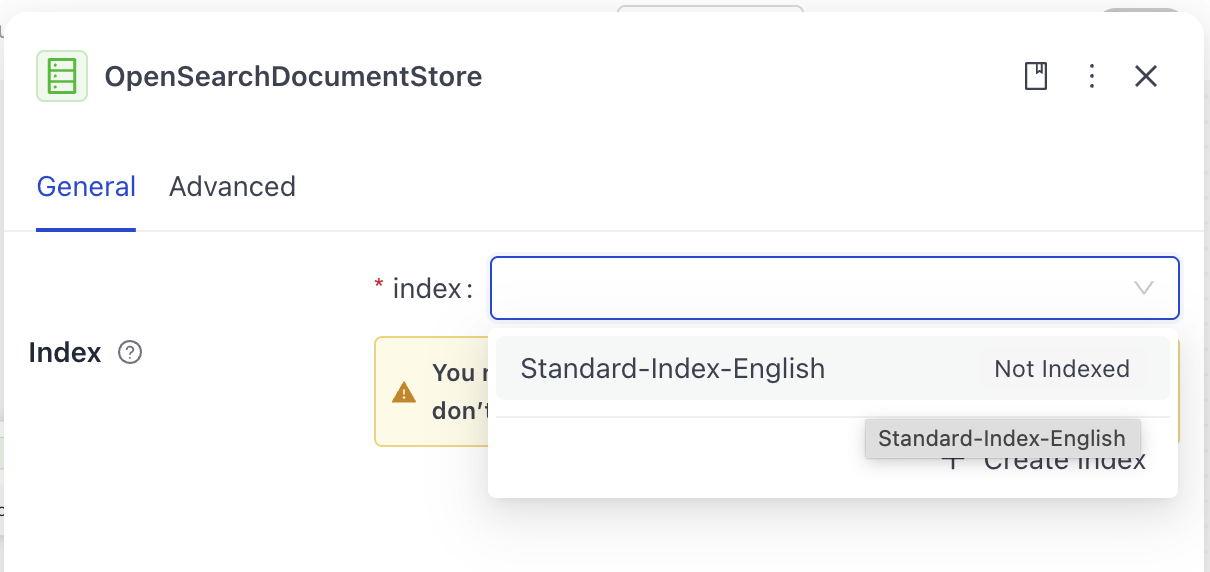
- On the
OpenSearchDocumentStorecomponent card, choose thestandard-indexyou previously created from the list.
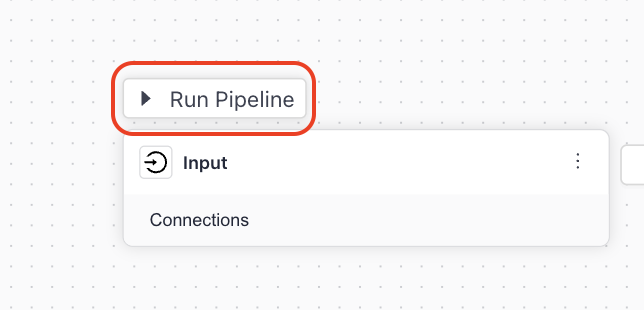
- To quickly test your pipeline, zoom in, click Run Pipeline above the
Inputcomponent and type "How do I treat atopic skin?". You should see the results in the chat window.
Result: You created a pipeline with an index, which means your documents have been indexed, and you can now run searches on them. Your pipeline is at the development service level. Let's test it.
Test Your Pipeline
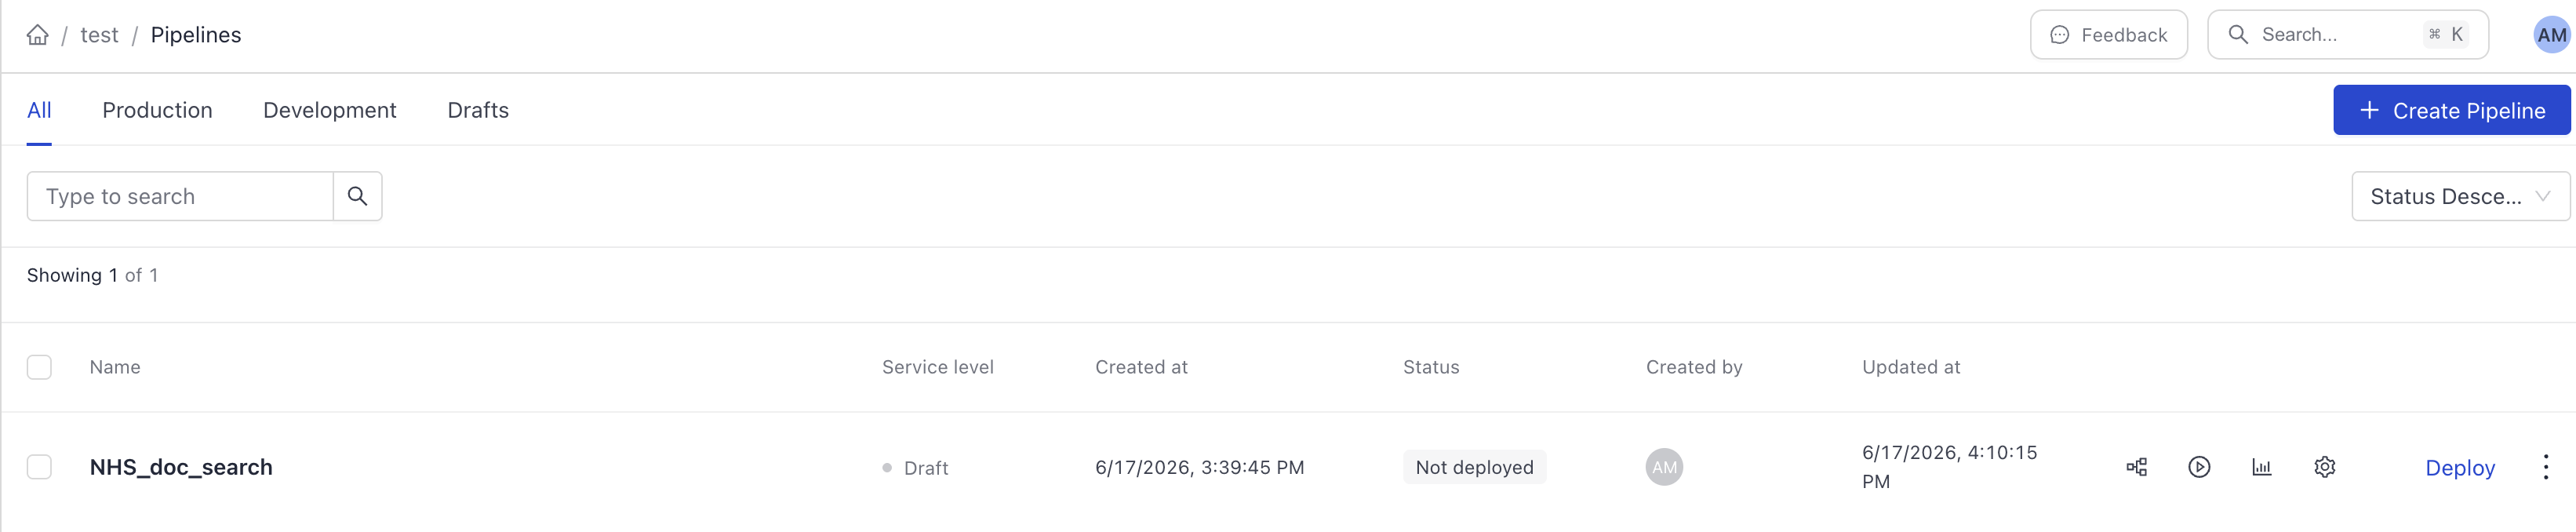
Before testing your pipeline, deploy it first. Click Deploy in the upper right corner of Builder. Wait until your pipeline status changes to Deployed.
When your pipeline is deployed:
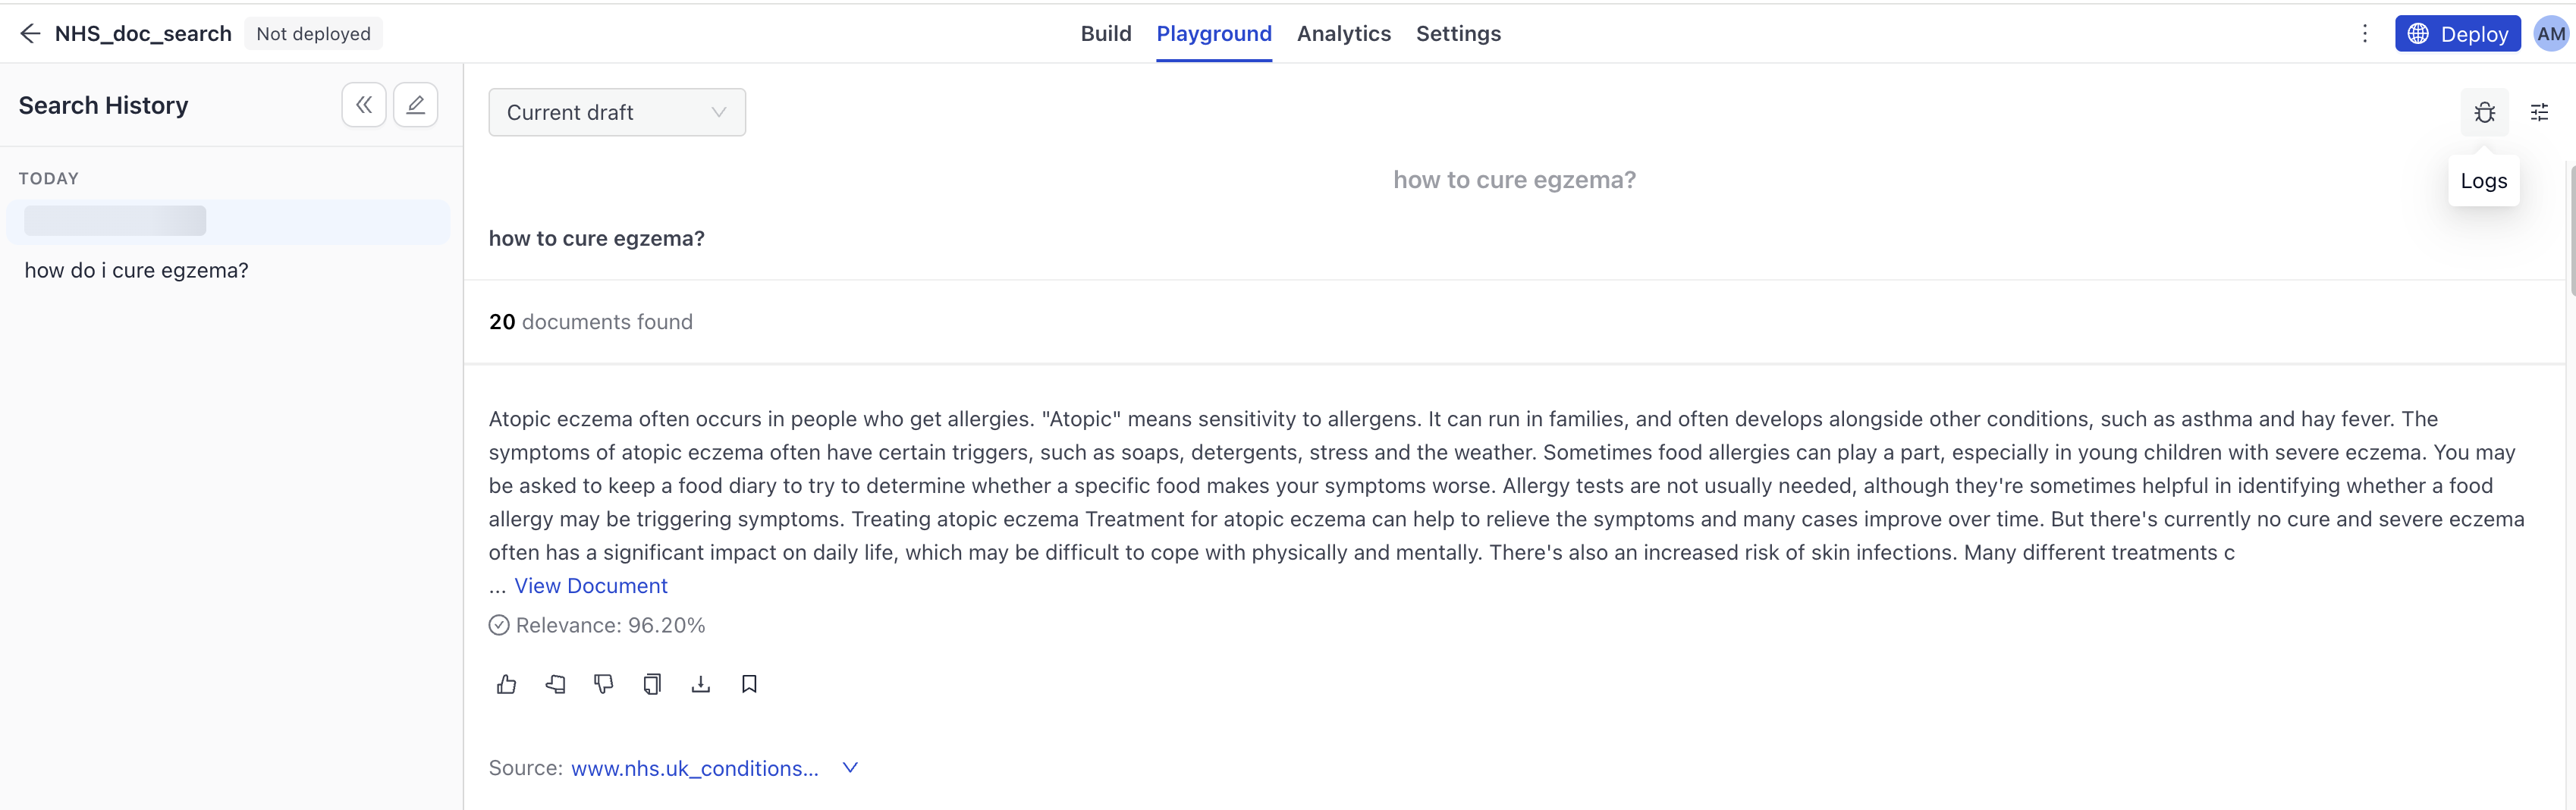
- In Builder, click Playground.
- Choose Current draft as the pipeline version.
- Type queries related to health and check the documents retrieved. You can check the logs to see the retrieved documents.
- To share your pipeline with others:
- Click Deploy and choose the version to deploy.
- Once the pipeline is deployed, you'll see the Share button in Playground.
- Click Share and configure the settings for the shared pipeline. Sharing creates a link to the pipeline chat view that others can access and try without creating an account. For more information, see Share a Pipeline Prototype.
Result: Congratulations! You have built a search system that can retrieve documents related to health. You can now ask health-related queries, and it will find relevant documents.
What's Next
Your pipeline is now a development pipeline. Once it's ready for production, change its service level to Production. You can do this on the Pipeline Details page shown after clicking a pipeline name. To learn more, see Pipeline Service Levels.
Was this page helpful?