Tutorial: Building a Robust RAG System
Build a retrieval augmented generation (RAG) system running on your own data that can generate answers in a friendly and conversational tone. Learn how to test different prompts and insert them into your pipeline from Prompt Explorer.
- Level: Basic
- Time to complete: 10 minutes
- Prerequisites:
- You must be an Admin to complete this tutorial.
- You must have an API key from an active OpenAI account as this pipeline uses the gpt-4o model by OpenAI.
- Goal: After completing this tutorial, you will have built a RAG system that can answer questions about treating various diseases based on the documents from Mayo Clinic. This system will run on the data you provide to it to minimize the possibility of hallucinations.
- Keywords: PromptBuilder, Generator, large language models, retrieval augmented generation, RAG, gpt-4o, Prompt Explorer
Create a Workspace
We need a deepset workspace to store our files, indexes, and the generative pipeline.
-
Log in to deepset AI Platform.
-
In the upper left corner, click the name of the workspace, type RAG as the workspace name, and click Create.
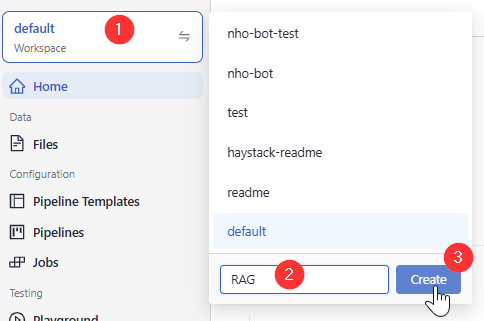
Result: You have created a workspace called RAG, where you'll upload the Mayo Clinic files.
Upload Files to Your Workspace
- First, download the mayoclinic.zip file and unpack it on your computer. (You can also use your own files.)
- In deepset AI Platform, make sure you're in the RAG workspace, and go to Files> Upload Files .
- Open the folder you downloaded and unzipped in step 1, select all the files in it, and drag them to the Upload Files window. Click Upload.
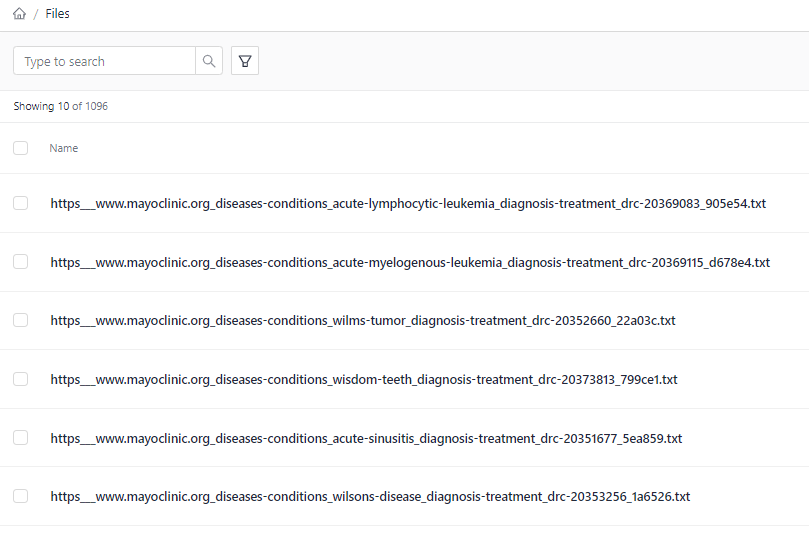
- Wait until the upload finishes. You should have 1096 files in your workspace.
Result: Your files are in the RAG workspace and you can see them on the Files page.
Connect Your OpenAI Account
Once you connect deepset AI Platform to your OpenAI account, you can use OpenAI models without passing the API keys in the pipeline.
- Click your initials in the top right corner and choose Integrations.
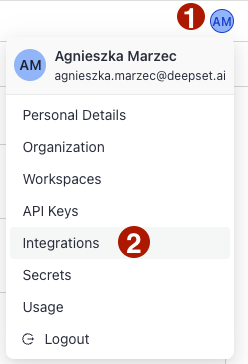
- Next to OpenAI, click Connect, paste your OpenAI API key, and click Submit.
Result: You're connected to your OpenAI account and can use OpenAI models in your pipelines.

Create an Index
Index prepares your files for search by chunking them and storing in a document store, where the query pipeline can access them.
-
Go to Indexes and click Create Index.
-
Click the Standard Index (English) template.
-
Type
standard-indexas the index name and click Create Index. The index opens in Pipeline Builder. -
Click Enable in the top right corner of the Builder.

Result: You created and enabled an index you can now connect to your query pipelines to give them access to your files.
Create a Draft Pipeline
Let's create a pipeline that will be a starting point for the generative question answering app:
-
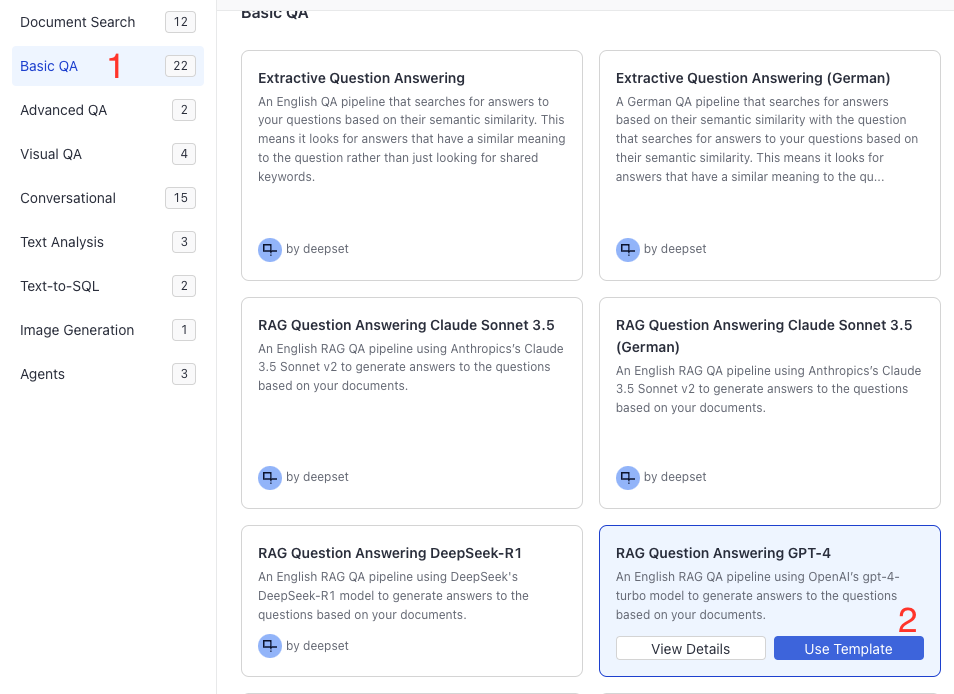
In the navigation, go to Pipeline Templates.
-
Choose Basic QA, find RAG Question Answering GPT-4, and click Use Template.
-
Type RAG as the pipeline name and click Create Pipeline. You're redirected to Pipeline Builder, where you can view and edit your pipeline.
-
Find the
OpenSearchDocumentStorecomponent (it has a warning message prompting you to choose an index) and choose thestandard-indexindex from the list on the component card.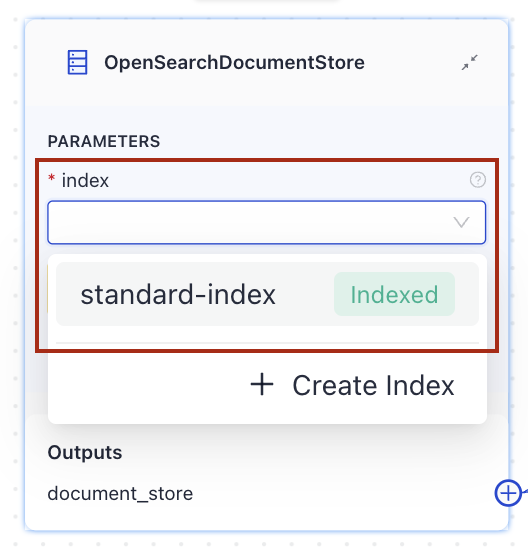
-
Click Save and then Deploy. Wait until the pipeline is deployed.
Result: You now have a deployed RAG pipeline that uses a standard index and generates answers based on your data. Your pipeline status is Deployed, and it's ready for use. Your pipeline is at the development service level. We recommend you test it before setting it to the production service level.

Work on Your Prompt
The default prompt makes the model act as a matter-of-fact technical expert, while we want our system to be friendly and empathetic. Let's experiment with different prompts to achieve this effect.
-
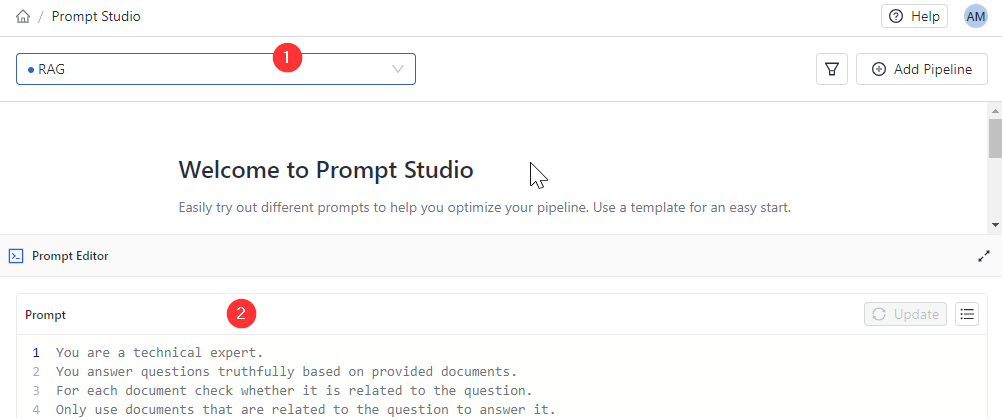
In the navigation, click Prompt Explorer.
-
Choose the RAG pipeline (1). Your current prompt is shown in the Prompt Editor pane (2).
-
In the
Type your query herefield, ask some questions about treating medical conditions, such as: "I had my wisdom tooth removed, but my gum hurts and is swollen. What should I do?"

The model generates an answer and provides its sources, which are the documents it's based on.
- Now, let's try a different prompt. In Prompt Editor, change the prompt to adjust the tone of the answer. Replace "You are a technical expert." with "You are a friendly nurse." and add "Your answers are friendly, clear, and conversational.", like in the prompt below:
You are a friendly, empathetic nurse.
You answer questions truthfully based on provided documents.
Your answers are friendly, clear, and conversational.
For each document check whether it is related to the question.
Only use documents that are related to the question to answer it.
Ignore documents that are not related to the question.
If the answer exists in several documents, summarize them.
Only answer based on the documents provided. Don't make things up.
If the documents can't answer the question or you are unsure say: 'The answer can't be found in the text'.
These are the documents:
{% for document in documents %}
Document[{{ loop.index }}]:
{{ document.content }}
{% endfor %}
Question: {{question}}
Answer:- Try the same query or experiment with other queries related to treating medical conditions. The answers should now be in a more empathetic and friendly tone. Here are some example questions you can ask:
"I have been diagnosed with a wheat allergy, what do I do now?"
"How do you treat swollen wrists?"
"What is meningitis?" - Insert the updated prompt into your RAG pipeline. Click Update in Prompt Editor and confirm your action. This replaces the current prompt.
Result: You have tweaked your prompt to generate more friendly and conversational answers. You updated your pipeline with this prompt.
Test the Pipeline
Time to see your pipeline in action!
- In the navigation, click Playground and make sure the RAG pipeline is selected.
- Try asking something like "my eyes hurt, what should I do?".
- Once the answer is generated, check the sources to see if the answers are actually in the documents.
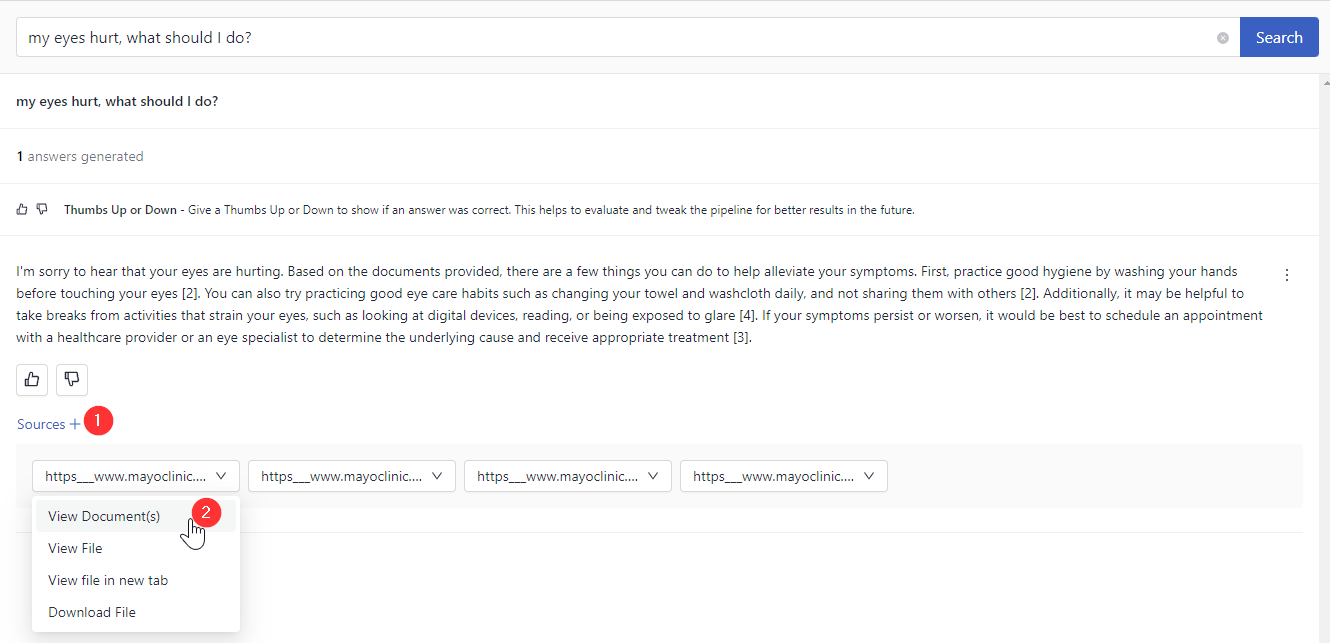
You can also check the prompt by clicking the More Actions button next to the search result.
Congratulations! You have built a generative question answering system that can answer questions about treating various diseases in a friendly and conversational tone. Your system also shows references to documents it based its answers on.
What To Do Next
Once you have a RAG pipeline, you can monitor its groundedness score to see how reliable it is and if it sticks to the documents.
Your pipeline is now a development pipeline. Once it's ready for production, change its service level to Production. You can do this on the Pipeline Details page shown after clicking a pipeline name. To learn more, see Pipeline Service Levels.
Updated about 1 month ago