Create a Minimal Agent Pipeline
Start simple by creating a minimal Agent pipeline that passes the query to the Agent and returns the result.
About This Task
Create a minimal Agent pipeline to understand how to connect the Agent to other component and build more complex systems. In this pipeline, the Agent receives the user query and generates a response.
Create an Agent Pipeline
- In the left navigation, go to Pipelines>Create empty pipeline.
- Click Create empty pipeline, give your pipeline a name, and click Create Pipeline.
- In the Component Library, find
Queryand drag it onto the canvas. - Now, drag the
Agentcomponent onto the canvas.
Incompatible Types
The Agent requires messages as input, but
Queryoutputs a string—so you can’t connect them directly. To bridge the gap, use theDeepsetChatHistoryParser. It converts the query into aChatMessagewith theuserrole, gathers the chat history, turns it into a list ofChatMessages, and sends everything to the Agent.
-
Find
DeepsetChatHistoryParserin the Component Library and drag it onto the canvas. -
Connect
QuerytoDeepsetChatHistoryParser'shistory_and_queryinput. -
Connect
DeepsetChatHistoryParser'smessagesoutput to theAgent'smessagesinput.
-
On the Agent component card, click Prompt, and enter the following prompt:
You are a helpful assistant.
Answer the user's question.
Agent Output
The Agent component has no output connection until you configure its prompt. Once you enter the prompt, you'll see
messagesas an output connection.
- Find
AnswerBuilderin the Component Library and drag it onto the canvas.
AnswerBuilder's Role
AnswerBuilderconverts the Agent's messages into a format you can display as the final output of the pipeline.
-
Connect
Agent'smessagesoutput toAnswerBuilder'srepliesoutput. -
Connect
Query'squeryoutput toAnswerBuilder'squeryinput.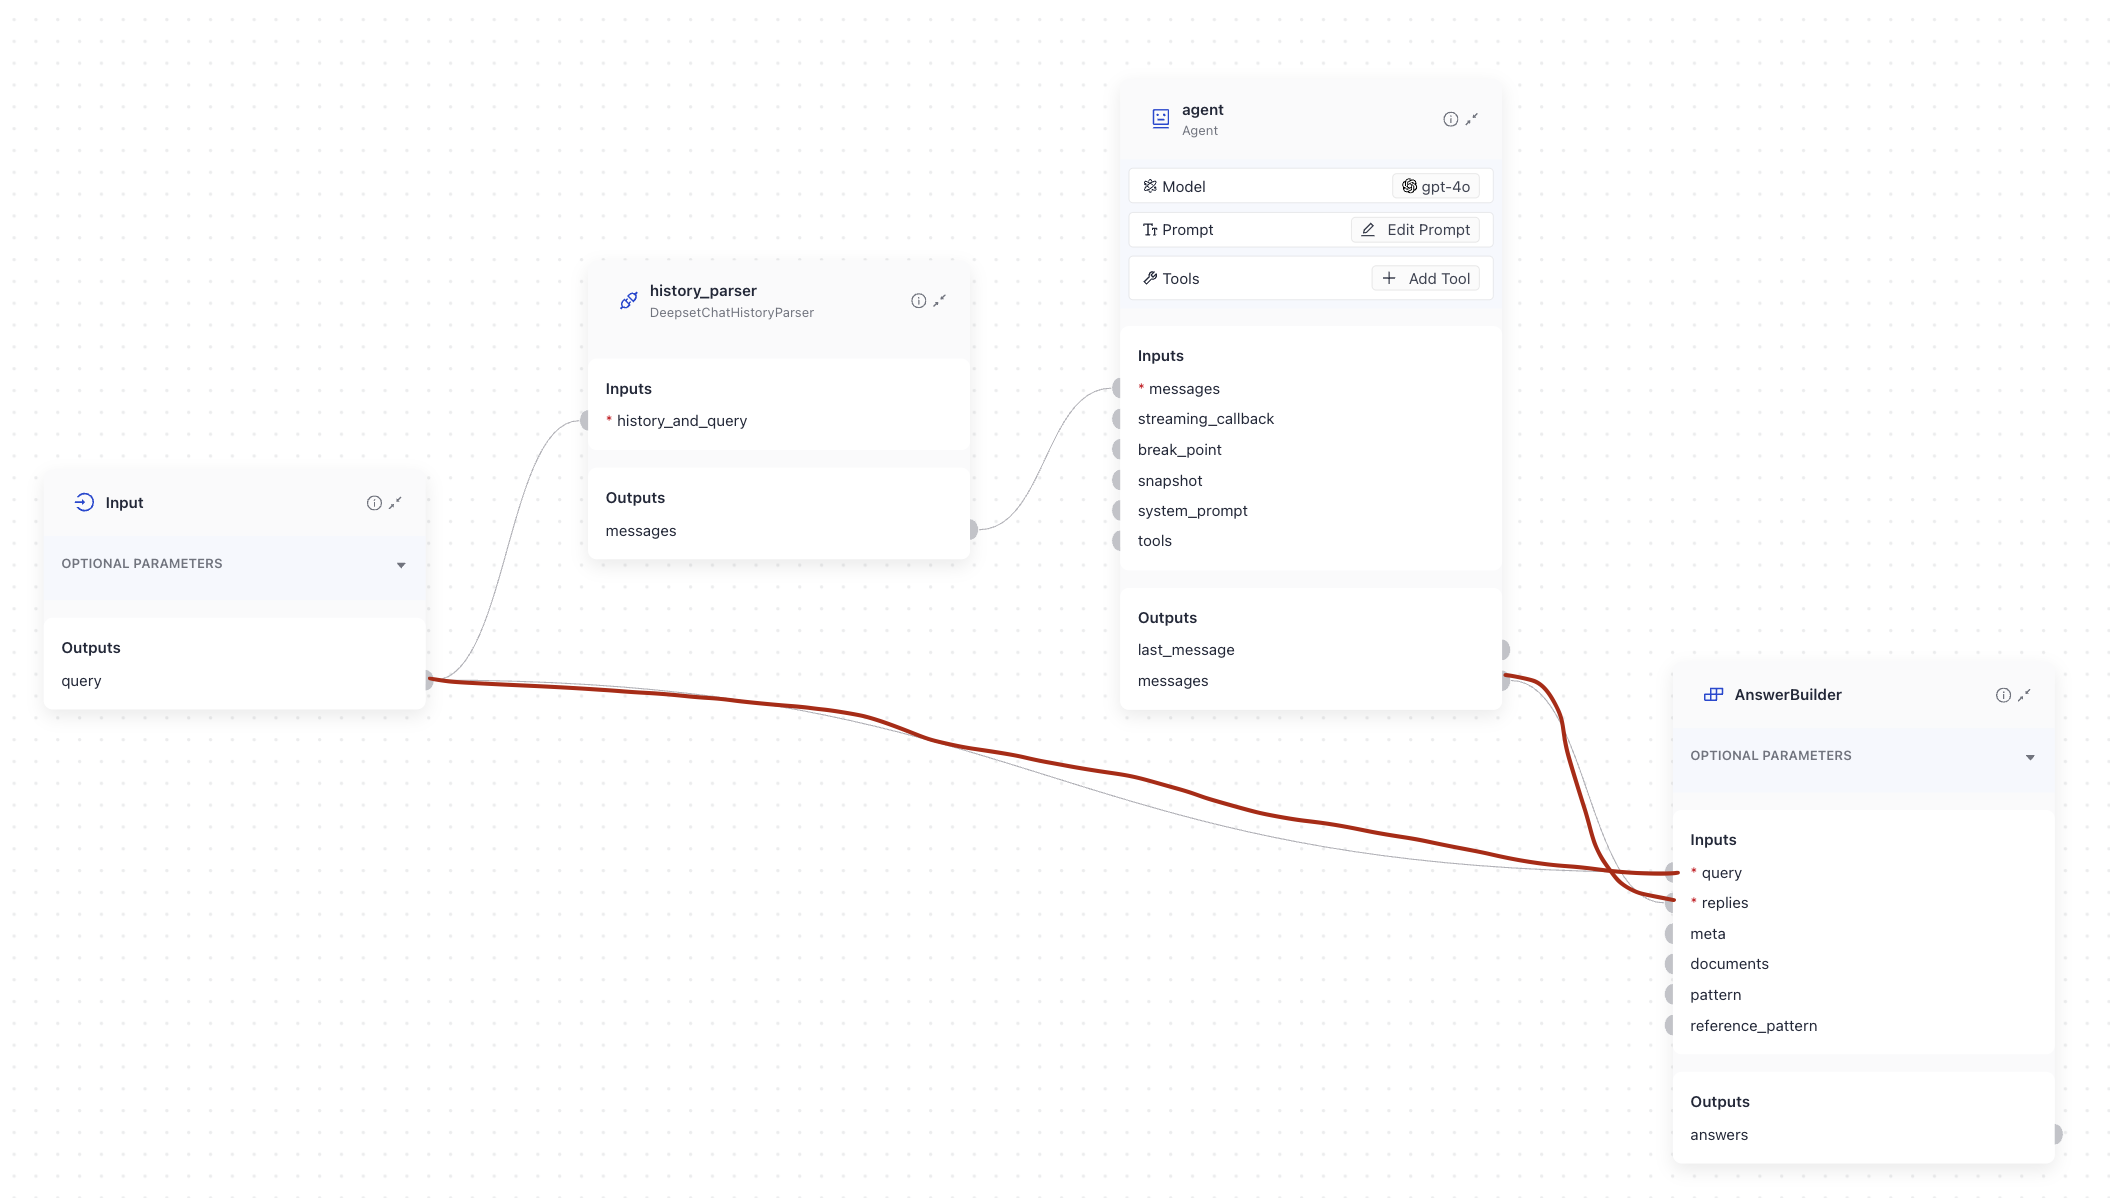
-
Drag the
Outputcomponent onto the canvas. Every query pipeline must end with theOutputcomponent. -
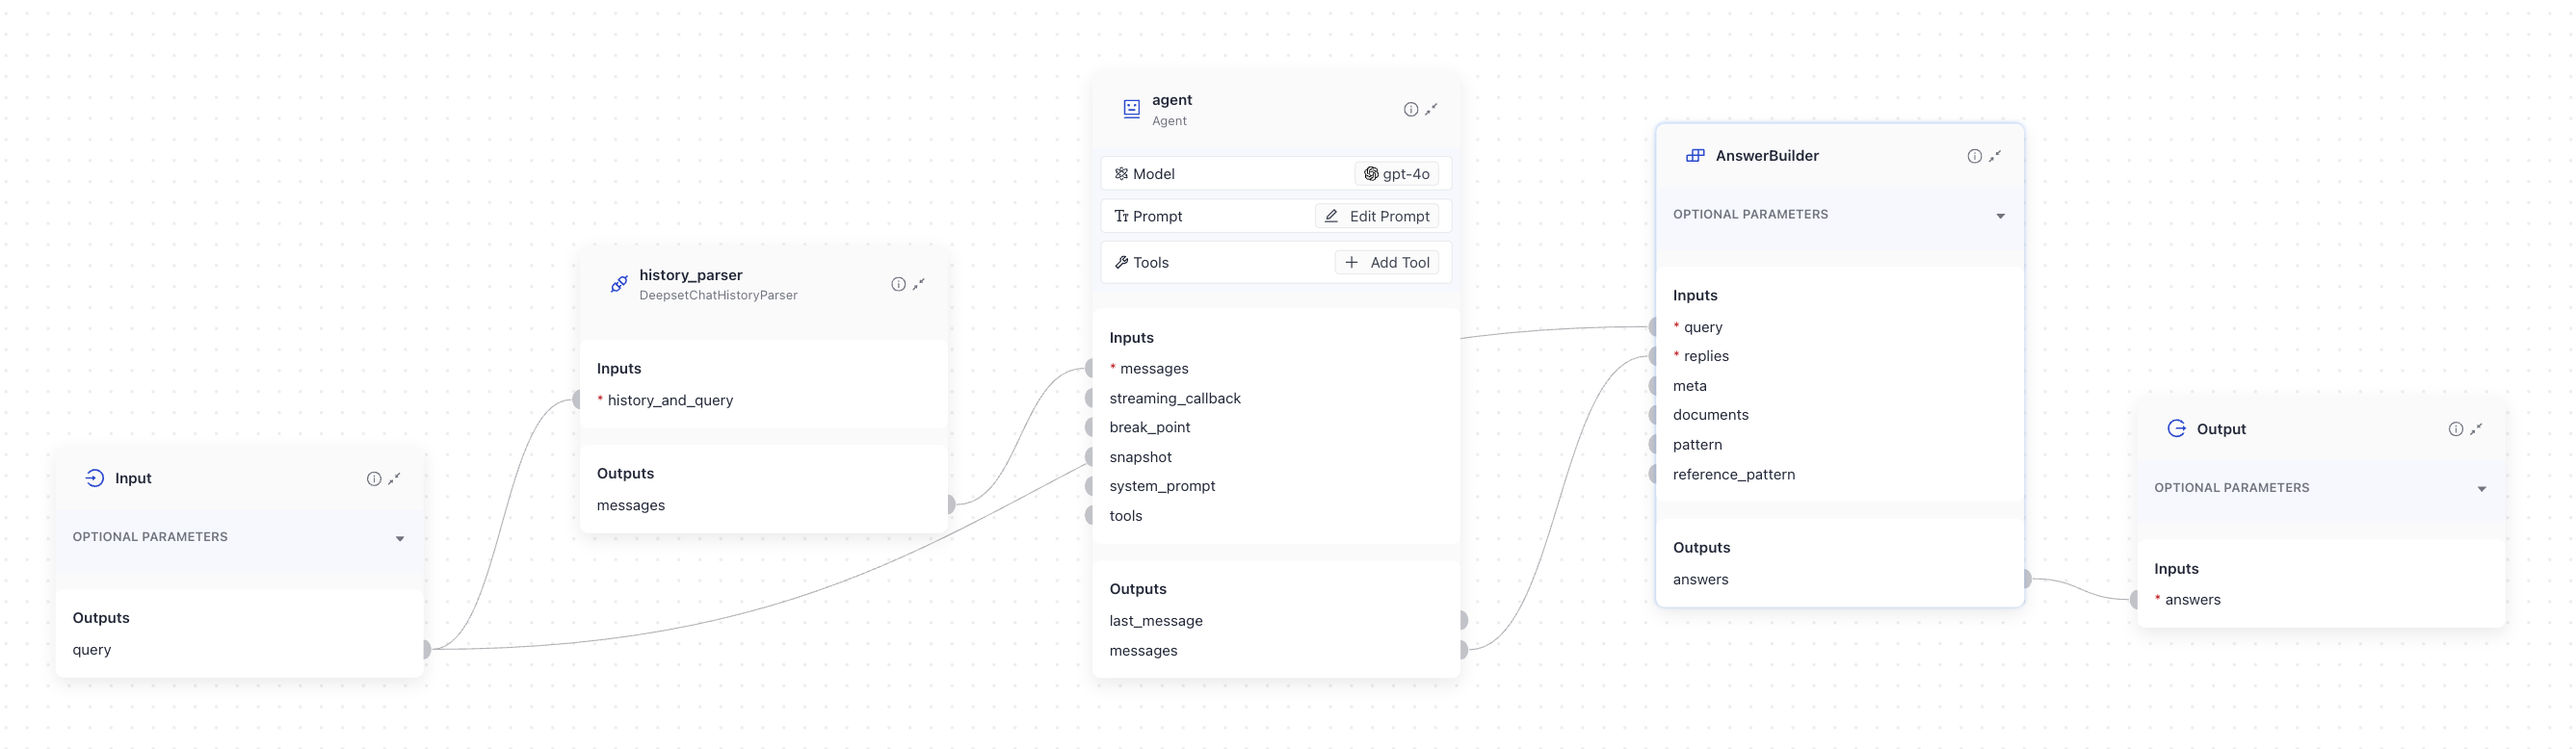
Connect
AnswerBuilder'sanswersoutput toOutput'sanswersinput. -
Save the pipeline.
This is how the pipeline should look like:
Run the Pipeline
-
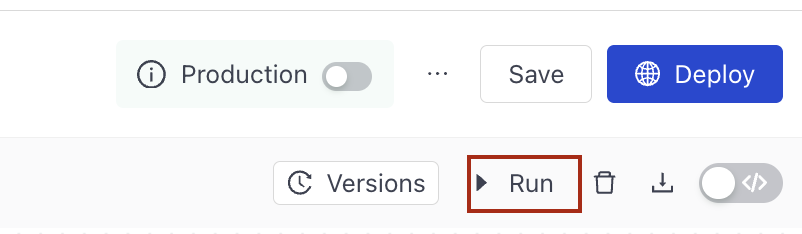
Click Deploy.
-
Once the pipeline is deployed, click Run to test it.
-
Ask any question and see how the Agent responds.
What To Do Next
- Configure the Agent's model, prompt, and tools. Once you do that, you'll already have a powerful Agent with tools it can use to expand its capabilities.
- If needed, configure the Agent's advanced settings, such as when it should stop or what to store in the Agent's state, and more.
- Check out our Agent templates available in deepset on the Pipeline Templates page.
Updated about 6 hours ago